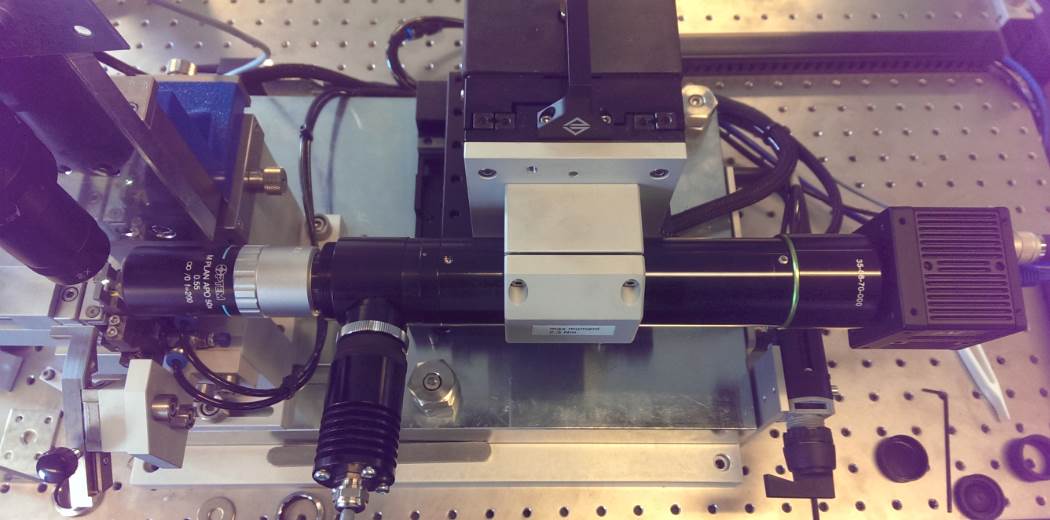
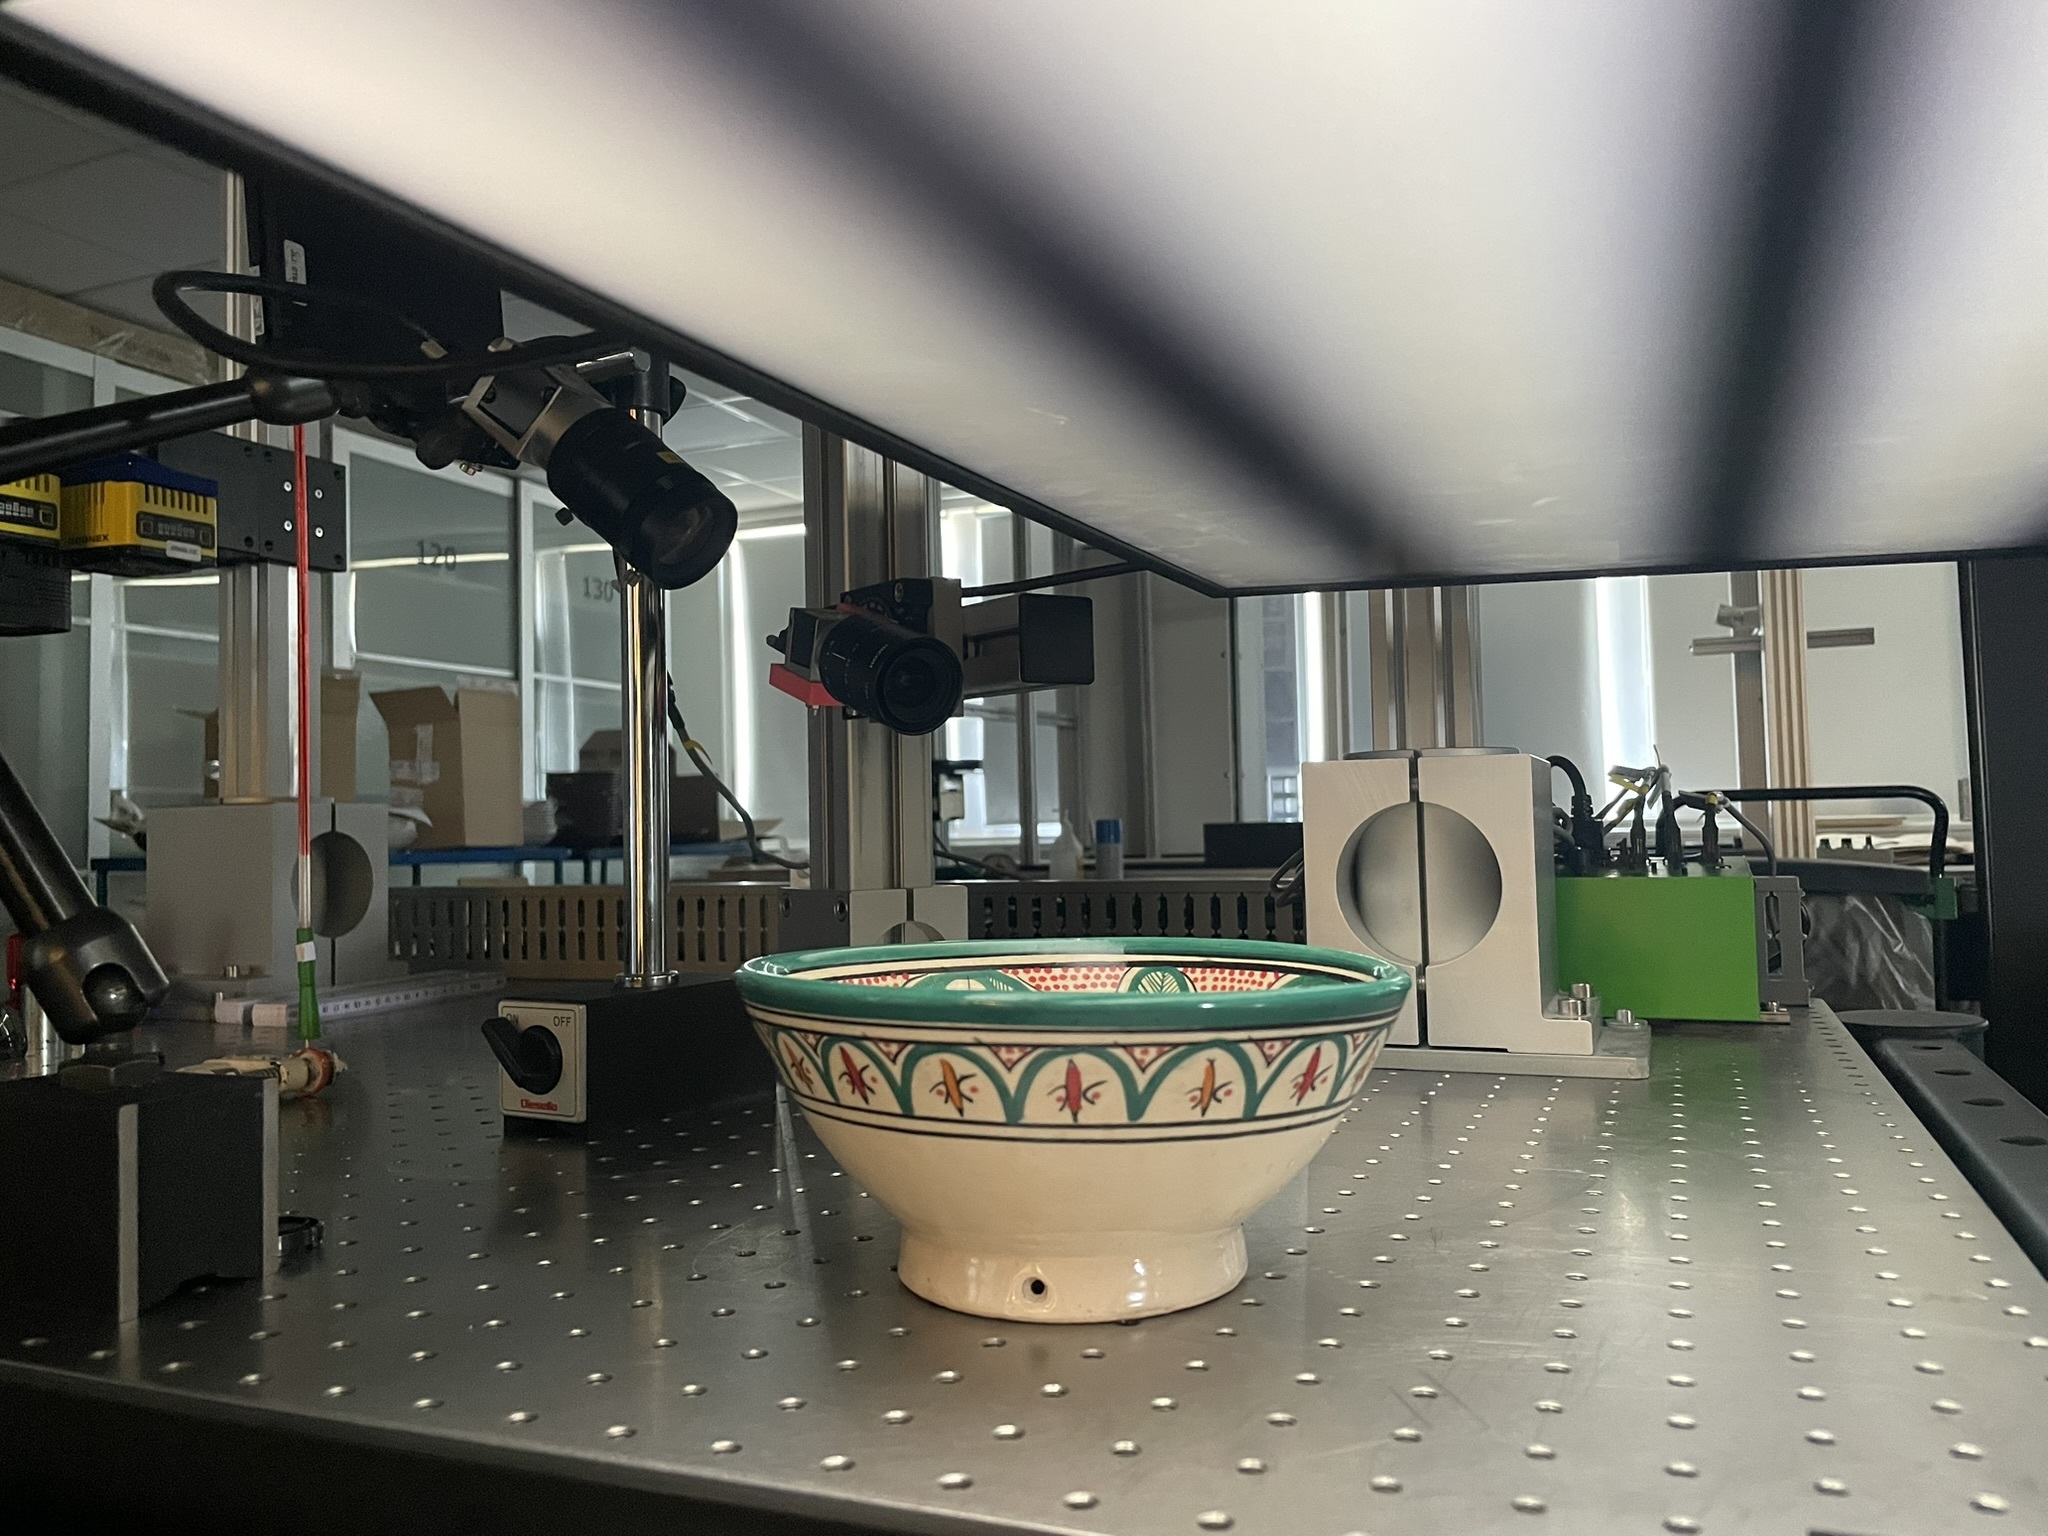
Machine vision can be used for Inspection and measurement tasks. Vision systems can measure with astonishing accuracy. If you understand how to compensate and calibrate, the accuracy is far better than the pixel count.

Machine vision measurement
If you have an inspection where you want to measure the distance across the image, you find a pixel on the left-hand side, and a pixel on the right-hand side of the picture. The distance is the pixel count and the scale factor. If you have a 1.000 x 1.000 pixel camera and a field of 1 by 1 meter, your resolution will be 1 mm.
If you want to measure the width of a square object placed in the middle of the image, you could measure 100 pixels along each side. This will improve the resolution by the square root of 100 = 10. You can then measure with a resolution of 0.1 mm with machine vision.
If the object is stationary, you can do the measurement 100 times in one second and get a further improvement in resolution of a factor 10. You are now down to 10 µm in a 1 meter picture field. Pretty impressive.
Resolution is the smallest detectable change. Accuracy refers to how well you can compensate, and there are numerous factors at play.
- The perspective – when you move the object around in the image, the width you are measuring will change, because of changes in distance to the camera center and the lens distortion.
- The contrast in the image is important. If your object is white and you increase the illumination, then the width will increase. You then need to measure the illumination and calibrate accordingly.
- The list goes on with distance from camera to object, temperature, vibrations, stray light etc. etc.
Measurement accuracy with machine vision
There are endless ways you can improve the accuracy by fully understanding the environment.
It has been proven that machine vision can achieve accuracies better than 500 times over the pixel accuracy. This means 2 µm for a one meter scene.
It is possible to measure a 12 µm opening in a capillary tube with an accuracy of 5 nm. This is done with light with a wavelength of 500 nm. It seems contradictory to laws of physics, but it works.
If you look at how many photons you receive from your capillary opening in the tube, it is a simple measurement of intensity over area and time. But the compensations and calibrations are endless.
The largest picture field we have used was measured in kilometers. We installed a system in the tower at Copenhagen Airport where we followed the aircraft on approach to runway 12. This is used under strong south-easterly winds. When the aircraft follows the glide slope, it passes over a populated area. If the aircraft goes too low, the pilot will be fined.
The vision system used a deep infrared camera, capable of looking through mist. We tracked the aircraft, detected too-low approaches, and printed an image with time and date to be used by the authorities.
The machine vision technology for inspection and measurement has amazing capabilities.


.jpeg)