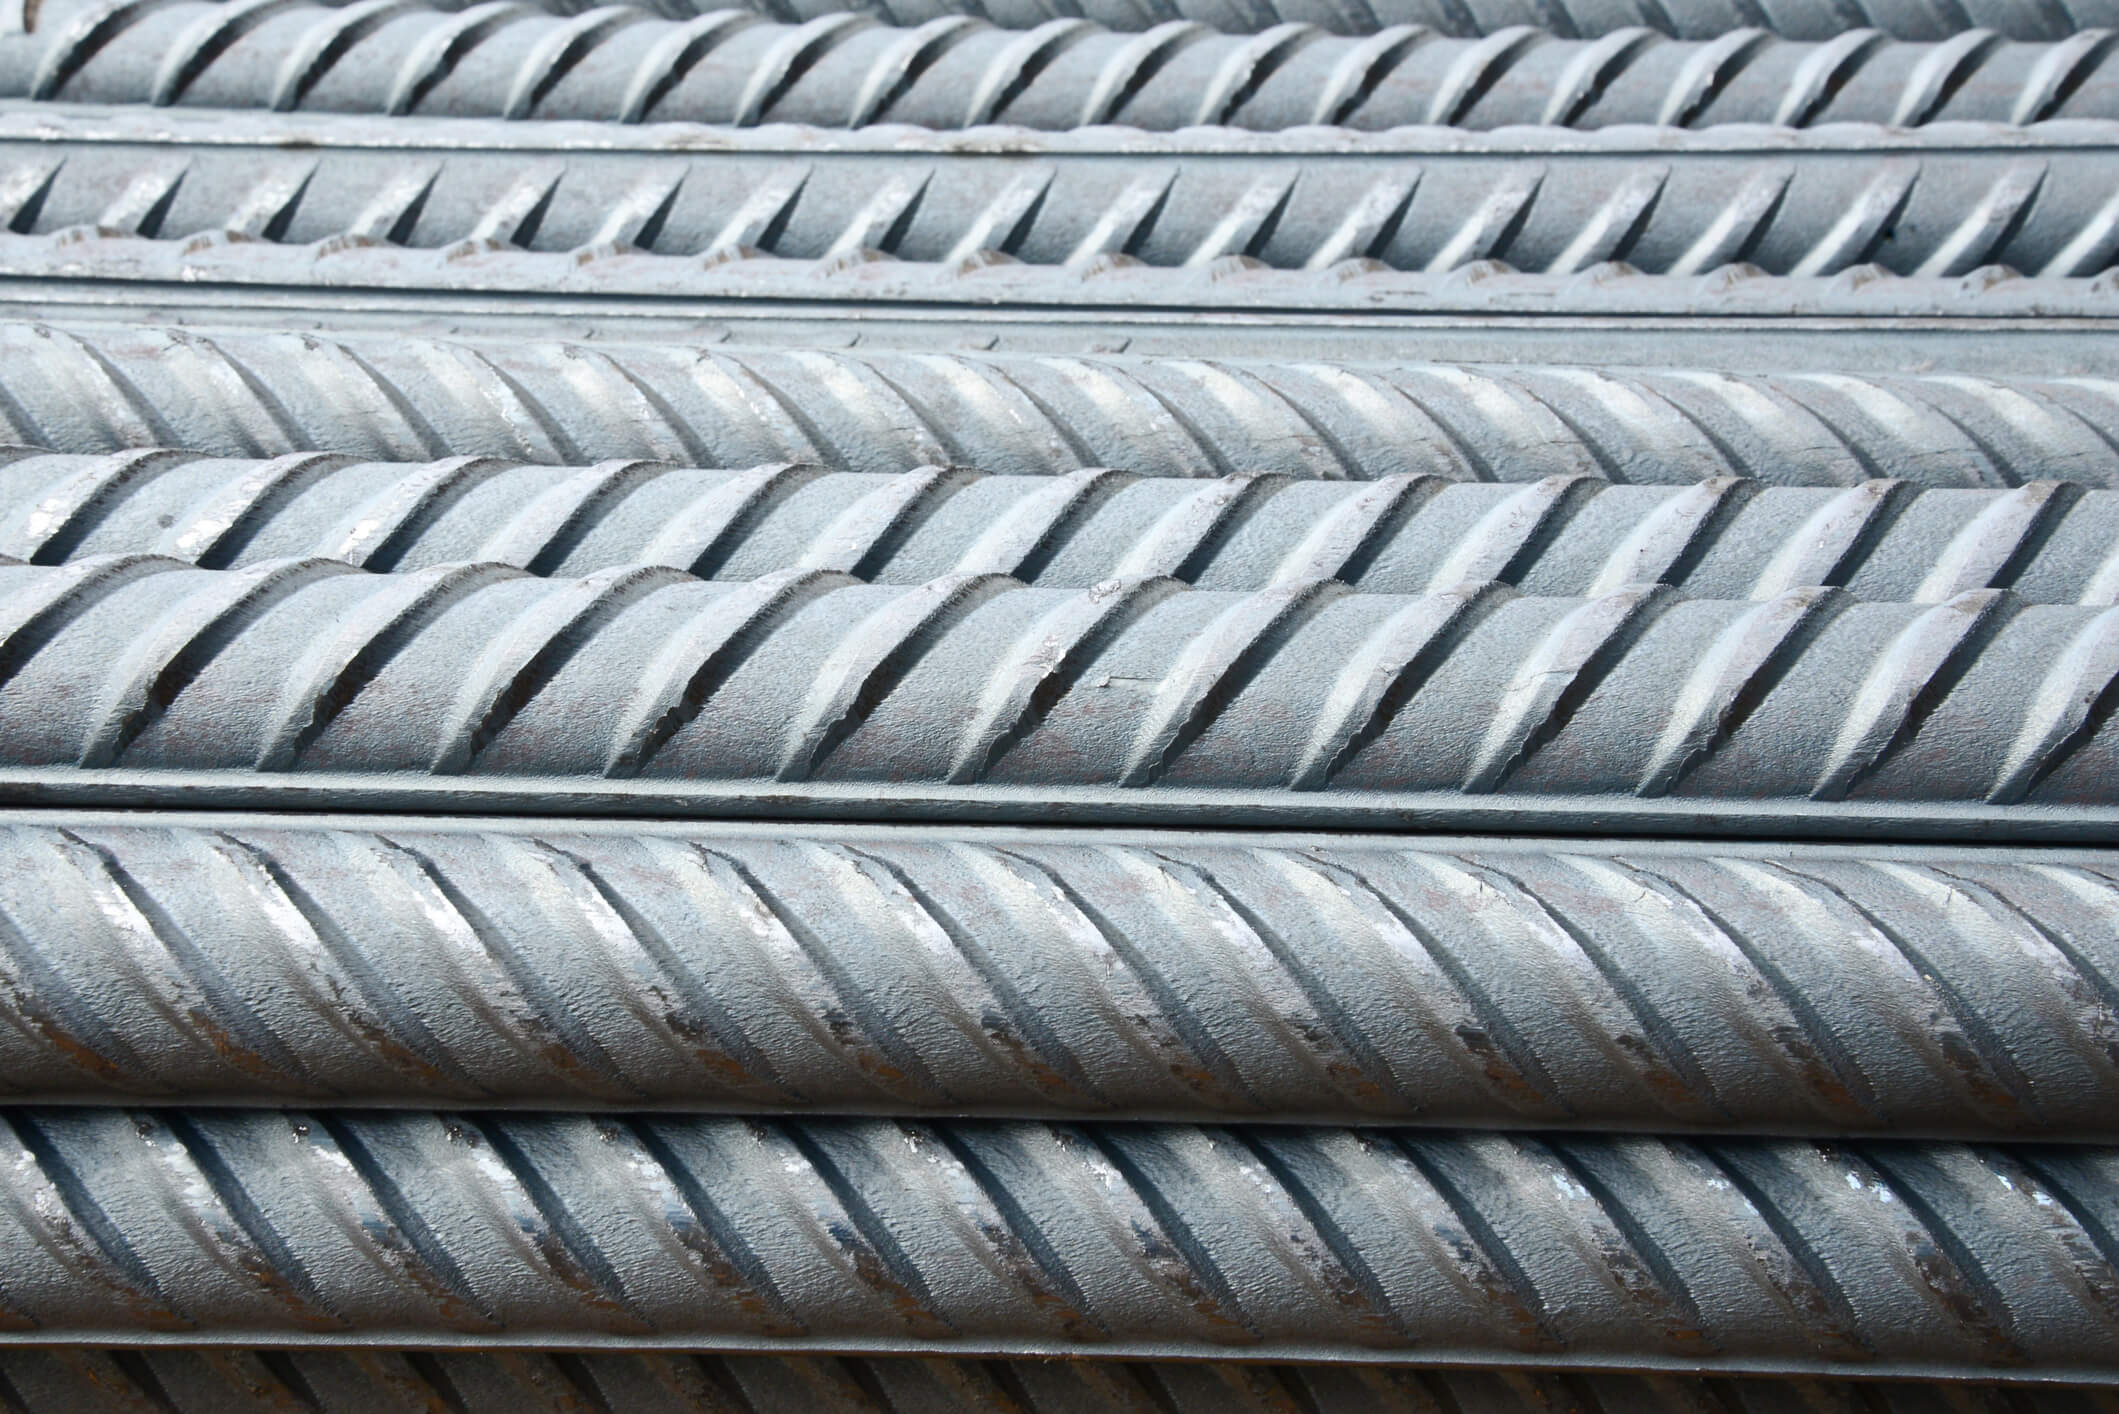
Engineers working with quality control in the steel industry constantly strive to ensure a high-quality product. Non-Destructive Testing (NDT) is one of the key methods used to ensure this.
In this blog post, we will take a look at the importance of NDT for quality control in the steel industry, some common NDT methods, and factors to consider when choosing an appropriate NDT method.
Let’s start with defining NDT: Non-Destructive Testing (NDT) is a type of testing that does not cause permanent damage or destruction to the item being inspected during the testing process. It can be used to detect subsurface defects and irregularities without affecting the integrity of any component or material. This makes it invaluable for quality control purposes when dealing with critical products such as steel components.
Challenges with Quality Control Inspection in the Steel Industry
Despite its importance, carrying out successful inspections of steel components pose distinct challenges due to their size and complexity. Harsh working conditions including extreme temperatures can also make it difficult for inspectors to perform accurate tests with minimal downtime.
Some steel products have large varieties and different shapes which require more visual inspection techniques like computer vision systems. Additionally, complex geometries pose problems since they may require special probes or devices depending on the type of defect being inspected.
Common NDT Methods for Quality Control in the Steel Industry
There are several non-destructive testing methods commonly used in ensuring quality control of steel components:
Automated Visual Inspection With Computer Vision
Visual Inspection is the oldest and most simple form of non-destructive testing, but whereas this used to rely on a manual process and the limitations of the human eye, today advanced machine vision can be used to automate the quality control process.
This method is especially well suited for detecting defects and flaws in the surface of steel components as well as measuring and controlling dimensions. Often the visual inspection is combined with machine learning algorithms to classify and detect defects.
One major advantage of this method is that it can often be applied without disturbing the production process as an inline inspection system This makes it a more efficient inspection method than most other NDT methods.
Ultrasonic Testing (UT)
This method uses sound waves at frequencies above human hearing range in order to detect internal defects such as cracks and voids within materials that would otherwise not be visible. UT has many advantages such as being fast and accurate but requires skillful operators who understand how sound waves can be affected by geometry changes etc., while making careful measurements so that readings are reliable and repeatable over time. Disadvantages include costs associated with equipment as well as calibration issues if done improperly.
Magnetic Particle Inspection (MPI)
This method uses magnetism and specially formulated fluids to detect surface and slightly subsurface discontinuities or defects in ferromagnetic materials like steel. While it's relatively low-cost compared to other methods, it does have some limitations. MPI requires manual operations for processing slits over larger surfaces, which can slow down inspection speeds, and it can have difficulty detecting deep flaws due to particles' tendency to collect at points closest to an imperfection's surface edge. However, it's still a very simple and cost-efficient process that's commonly used in the industry.
Radiography Testing (RT)
This technique uses X-rays to detect flaws in steel components during inspections.
It is based on the principle that areas of reduced thickness or lower material density allow more radiation to pass through, resulting in less radiation absorption. The resulting shadow image on the radiograph can reveal areas of low absorption (like voids and porosity) as dark areas, and areas of high absorption (like dense inclusions) as light areas.
This method is especially useful for detecting subsurface discontinuities like voids, flaws, metallic and non-metallic inclusions, and cracks. By using radiographic testing, you can detect potential issues that might not be visible to the naked eye, ensuring the quality and reliability of steel components.
Eddy Current Testing (ECT)
This non-destructive testing method relies on the principles of electromagnetic induction to detect potential issues in metallic surfaces. By generating its own alternating current signals, eddy current testing can detect flaws and material variations that might not be visible to the naked eye.
One of the advantages of ECT is its reliability, as even the smallest defect can generate wildly varying eddy current responses, which can be detected and recorded electronically. However, there are certain scenarios where sudden drops in electrical fields can indicate damage that may not necessarily imply an actual defect, which can lead to false positive results.
Overall, eddy current testing is a useful tool for detecting corrosion damage, thinning of material in tubing, surface and near-surface defects, small cracks, and other potential issues in conductive materials.
The right method depends on the use case
The use of NDT is essential for ensuring safety and reliability in industrial applications involving steel components, and quality assurance teams rely on NDT to identify defects before costly errors occur further down the line. Which method is right for you will depend on a number of factors, including your production environment and the sort of defects you are looking for.


%20Stor.jpeg)