Sometimes automating quality control is relatively easy and something that can be solved with off the shelves machine vision solutions. But what do you do when things are less straightforward? When the inspections task itself calls for advanced solutions, or the circumstances on the productions lines make automated quality control difficult.
In this blog post, we will go through some examples of quality control challenges and how you can solve them with advanced machine vision.
Inspecting fast-moving objects
In most industries, it is all about having the product line running as fast as possible and still maintaining sufficiently high quality. In some cases, though, the speed of the production line can become a barrier for automating the quality control, as it is always challenging to take a detailed, clear image of objects moving at high speed.
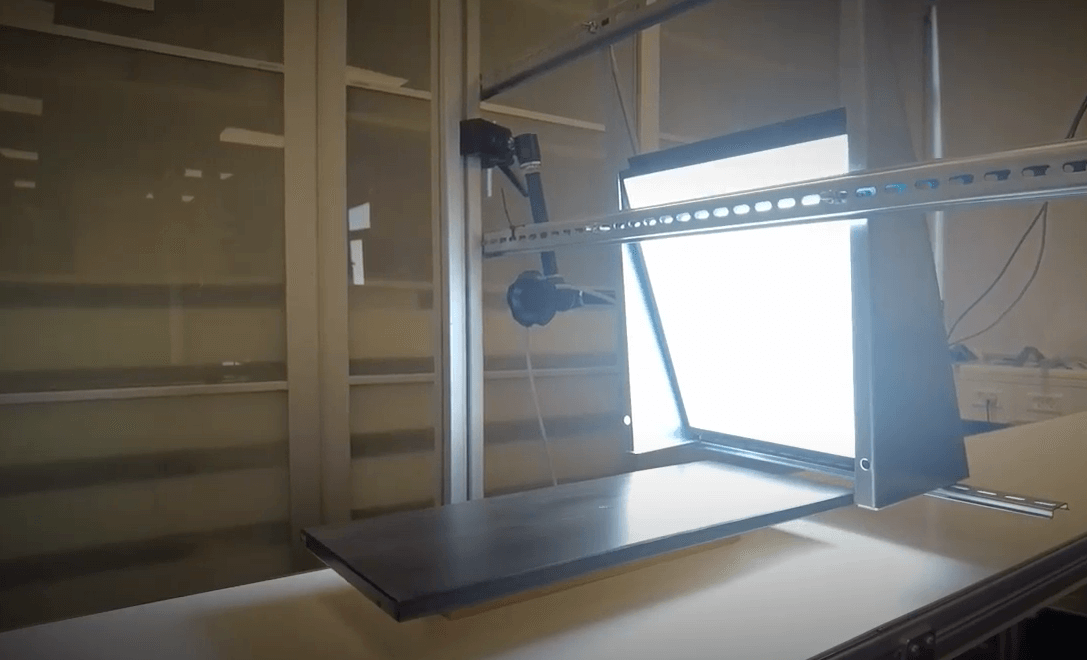
The great enemy is motion blur, and to prevent that, you need fast shutter speed. The tricky part is getting enough light to capture a clear image at a very fast shutter speed. Light is the key to success and the key to getting sufficient light is focusing the light on the specific item or part of the item you want to inspect.
There are a few different ways of doing so - using a laser is one option, and so is using mirrors or lenses - but the challenge is often the lack of space available for installing light sources on the production line.
Our SK series - a standardized system used for inspecting glass tubes - is an example of how to solve that challenge. The glass tubes pass the camera at speed up to 10 meters per second while we need to capture images that allow us to find defects with a size of a few hundredths of a millimeter.
To solve this challenge, we created our own light sources by using a standard sodium bulb together with a special board that drives them and a system that concentrates the light through a narrow slot. This setup enables the camera to run with a shutter speed of as little as 0.02 msec and maintain an adequate depth-of-field.

Inspecting a large object
Sometimes the object you need to inspect in your production line is too large to capture in one single image - often because the space around the production line limits what kind of equipment you can install. In this case, using a line scan camera is an excellent way of getting the best of both worlds.
The use case here could, for example be kitchen doors. As the name suggests, the line scan camera scans one thin line of the door at a time. It does this quickly and can scan up to 48.000 lines per second. Then the software stitches these lines together to make a complete image with a very high resolution that is fit for inspections of even the smallest defects.
Inspecting the sides of a round object
When the surface of the object you want to inspect isn’t flat like a kitchen door but round like a bottle you are suddenly facing new challenges. There are multiple ways to approach this challenge depending on your production line, but they all come with their own pros and cons.
The most common solution is placing 3 or 4 cameras around the production line which all capture an image of the object. The software then stitches the images together into one. If you want to inspect the top, you will need an additional camera for that as well.
This will give you a good image to inspect but the downside is the space that an installment like this will take up one the production line. If you want to use just one camera you can use a pericentric optic. This is an advanced - and also 3-4 times more expensive - optic that is able to look at the object from the top and capture an image that shows not only the top but also a “wrapped” image of all sides. The dimensions will obviously be distorted but this can be solved with an algorithm that takes this into account and makes it possible to inspect the images for defects.
Inspecting the insides of a hole
The most common use case for machine vision in quality control is inspecting the surface of an object for various defects. Still, sometimes the task is checking the inside of an object. Just think of drill holes you need to ensure have the correct depth and no burrs - or items that need to be assembled inside each other, and where you need to check the quality of this.
If you only need to check the bottom, you would opt for a concentric light source that sends the light down in the hole, allowing you to see what was otherwise in the dark.
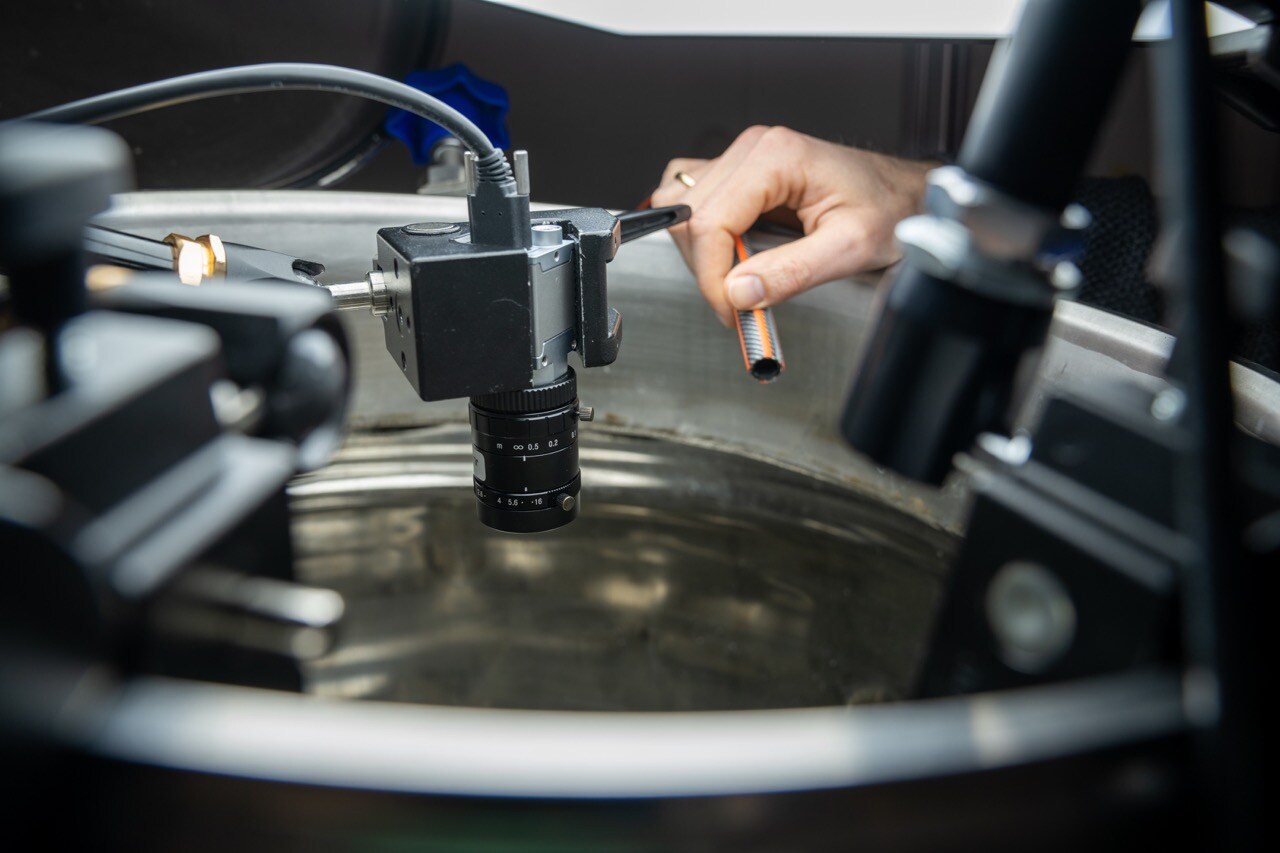
If you also want to inspect the sides, you could use a tiny camera mounted on a robot arm with a light source. The flip side here is the size of the equipment - it would not be possible to make a system like that smaller than 10 millimeters.
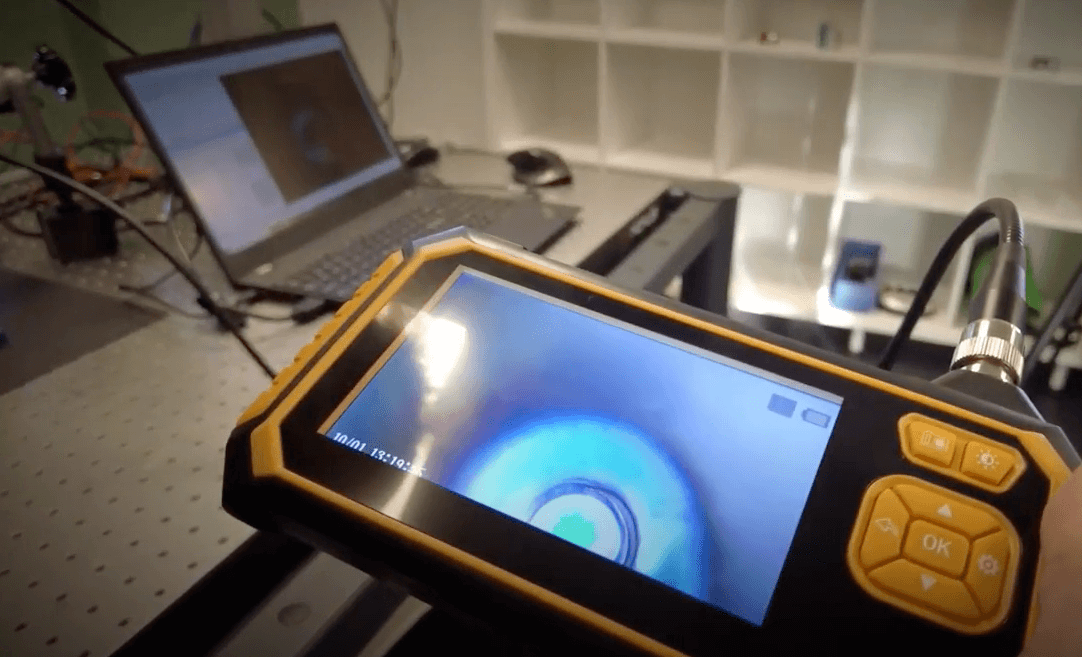
In that case, ýou could use an endoscope instead. These are probably best known for medical procedures but can also be used in machine vision systems for fast-moving production lines. You need to be aware here, though, that this is quite sensitive equipment, which can break if it isn’t handled with care.
